How to Upgrade to Windows 11 after Windows 10's End of Support
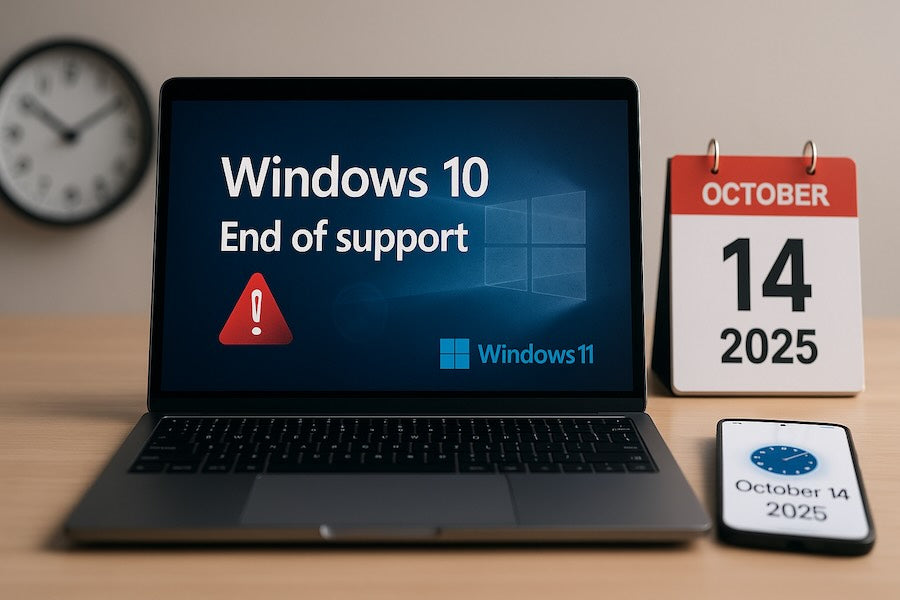
Time is running out for Windows 10. Microsoft confirmed that it will end support for Windows 10 on October 14, 2025. That translates to no further security updates, no patches for bugs, and no new features beyond that date. If we keep using it, we risk running our systems on vulnerabilities that hackers can take advantage of. The smart thing to do is schedule the Windows 11 Upgrade well in advance.
In today's blog, we will discuss why the Windows 11 Update is important, how to prepare, and what tools can assist us in completing the shift with ease.
What is the need to upgrade to Microsoft Windows 11?
Windows 10 has been solid for years, but when support ends, its lack of updates will render it unsafe for regular use. Windows 11, on the other hand, is more than a cosmetic update—it introduces performance boosts, improved security, and new features such as:
- A simplified, centered Start menu and taskbar.
- Improved multitasking with Snap layouts and multiple desktops.
- Improved gaming with DirectStorage and Auto HDR.
- Increased integration with Microsoft Teams for communication.
- Integrated next-gen security features such as TPM 2.0 support.
It's not so much about risk-avoidance—it's about entering a faster, more secure, and contemporary way of working.
Step 1: Verify System Requirements
Let's not jump into the upgrade without ensuring our PC is compatible with Windows 11. The primary requirements are:
- A 64-bit processor (1 GHz/higher, with at least 2 cores).
- 4 GB or more of RAM.
- 64 GB of storage space.
- UEFI firmware with support for Secure Boot.
- TPM 2.0 chip.
By utilizing the Microsoft PC Health Check tool, we can establish any upgrade eligibility or if we will have to replace additional hardware first, if we don’t meet the minimum requirements.
Step 2: Backup Before Upgrading
There will always be an element of risk to upgrading from one operating system to another. This is the reason why we need to take back essential files and settings before proceeding with the upgrade.
This is where backup software like EaseUS Todo Backup is helpful. It allows us to back up the entire system, a partition, or selected files, and if something goes wrong with the upgrade, we can restore everything to normal. It is kind of like insurance for our data.
Step 3: Move Your Data
Another common concern when upgrading from Windows 10 to Windows 11 is how to migrate apps and files. Manually reinstalling everything is definitely time-consuming. We can at least use EaseUS Todo PCTrans Free to help with this.
EaseUS Todo PCTrans Free allows us to:
- Transfer applications, files, and other settings to Microsoft Windows 11 from Windows 10.
- Move data from one computer to another computer on the same network.
Backing up an image of files and restoring them on the new system. Briefly, it makes the Windows 11 Update not so much a matter of starting anew, but rather an effortless continuation.
Step 4: Select the Way to Install Windows 11
We have several means of doing the Windows 11 Upgrade:
- Windows Update – If our computer is compatible, Microsoft tends to offer the upgrade via Windows Update. We just go looking for updates, downloads, and installation.
- Installation Assistant – A no-nonsense app that takes us through step by step to upgrade from Windows 10 to 11.
- ISO File or Bootable USB – Ideal for clean installs or if we wish to start with a completely clean slate. This approach wipes the system clean, so backups are not optional.
Either option will work great. However, if we want an easy life, this is the simplest process through Windows Update.
Step 5: The fun part is setting everything up again.
After we've upgraded to Windows 11, we will:
- Check the drivers again and update them, and ensure they are all compatible.
- Re-install or re-activate any applications that did not migrate
- Dig around new features such as Widgets, virtual desktops, and revamped settings to make the most out of the OS.
If we installed EaseUS Todo PCTrans Free, most apps and settings should already be available, reducing setup time.
Tips for a Smooth Windows 11 Upgrade
- Before you wish to upgrade, ensure to free up space by getting the unnecessary files removed.
- To prevent any installation conflicts, get the Windows 10 drivers and BIOS updated.
- Back up using EaseUS Todo Backup—better safe than sorry.
Check performance after the upgrade; sometimes minor changes in settings make a difference.
Final Thoughts
With the support end for Windows 10 approaching, it's best to schedule the transition in advance. Windows 11 goes beyond security—it's about an operating system that is more cohesive, smarter, and productive!
By offering utilities like EaseUS Todo Backup to protect data and EaseUS Todo PCTrans Free for easy transfer, we can rest assured that the Windows 11 Upgrade is easy and smooth.
Let's not wait! If we make the upgrade today, we will have direct access to all of the new Windows 11 features, plus have advantages over current security risks related to using an out-of-date operating system.